01 25 minutes
First external light
Build a real circuit on the breadboard and light an LED you can hold
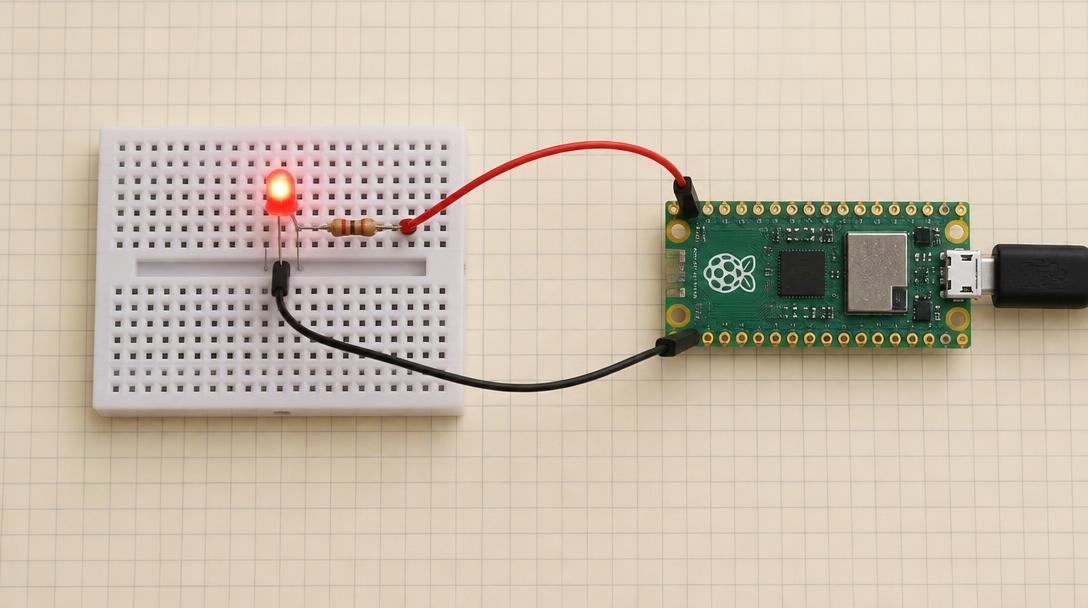
Mission goal: Wire GP16 through a 1 kΩ resistor into a red LED and back to ground, then switch it on for ten seconds from code.
Section 1
Understand
New ideas
- How breadboard rows connect to each other
- GPIO numbers versus physical pin numbers
- Why a resistor is not optional
- LED polarity: long leg versus flat side
- 1Electricity flows in a loop: pin → resistor → LED → ground.
- 2The LED's long leg faces the resistor. The 1 kΩ resistor is never skipped.
- 3Pin(16) means GPIO16, which is physical pin 21.
Safety first
- Build and change wiring with the USB cable unplugged. Plug in only when the circuit is finished and checked.
- Never connect a GPIO pin straight to ground with no resistor and no LED. That is a short circuit.
- Check the LED's long leg points away from ground before you power up.