11micro:bit · MakeCode 35 minutes
LDR nightlight
External light sensor with calibrated thresholds and hysteresis.
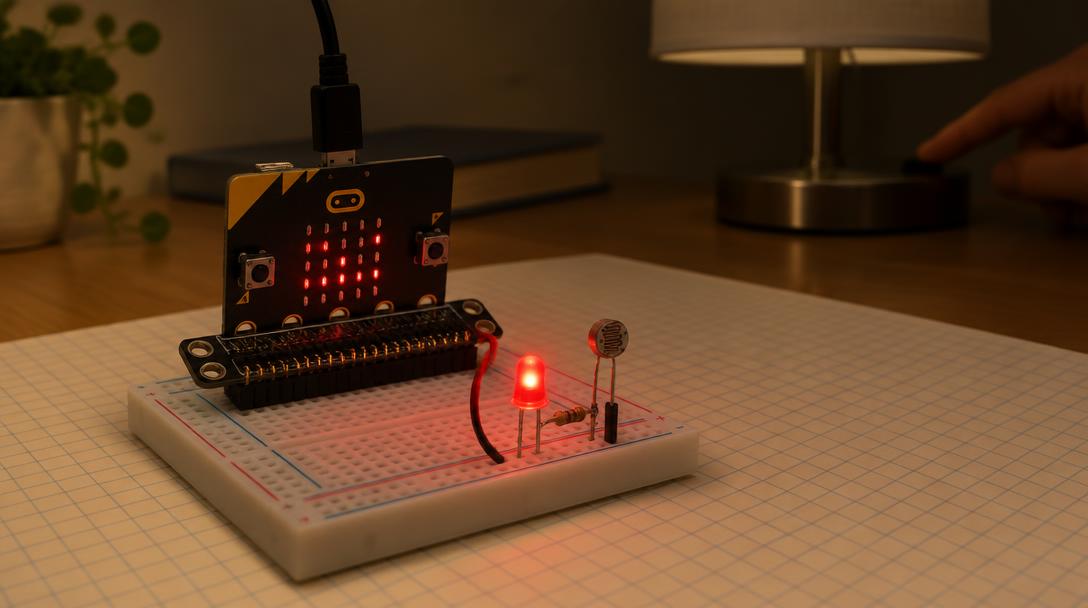
Lesson goal: Read an LDR divider on P1 (0..1023) and switch the P0 LED with LOW/HIGH thresholds that keep state in between.
Open MakeCodeSection 1
Understand
- LDR
- voltage divider
- calibration
- hysteresis
- 13V → light sensor → P1 junction → 10 kΩ → GND.
- 2Below LOW: lamp on. Above HIGH: lamp off. Between: no change.
- 3Calibrate LOW and HIGH from your own dark and bright readings.
Safety first
- Unplug the USB cable before you add, move or remove any wire. Plug back in only after an adult or you have re-checked every connection against the table.
- micro:bit pins are 3 V logic. Never connect 5 V, a battery pack or anything from a 5 V supply to any ring, port or the 3V ring.