08micro:bit · MakeCode 25 minutes
External button
Read a pushbutton on P1 with an explicit pull-up.
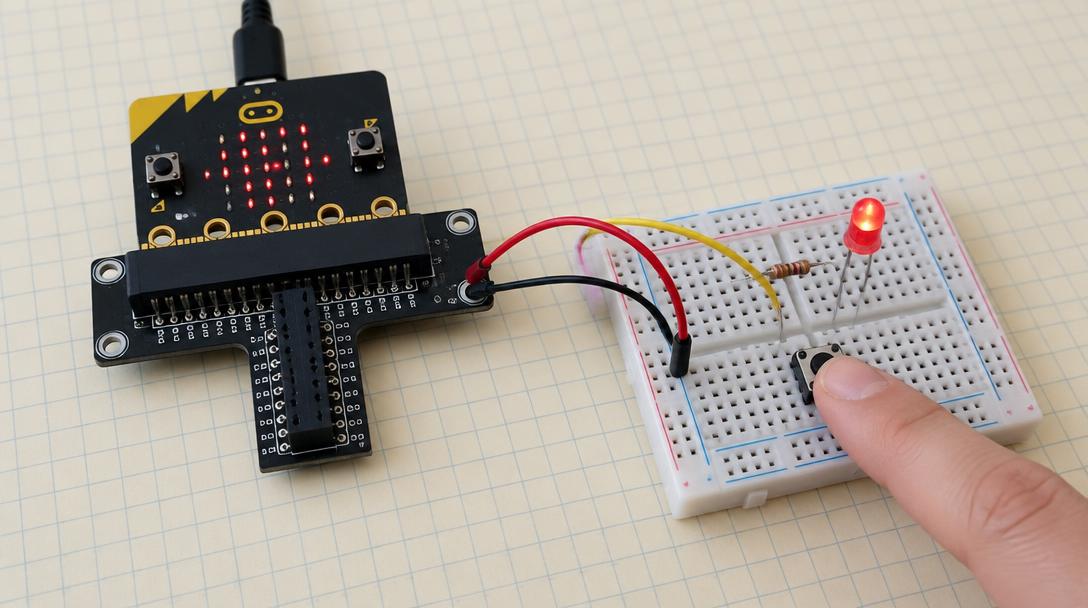
Lesson goal: Read P1 as a digital input with a pull-up resistor and light the P0 LED while the button is held.
Open MakeCodeSection 1
Understand
- digital input
- pull-up resistor
- active low
- if/else
- 1A button between P1 and GND, with pull-up switched on.
- 2Pressed reads 0, released reads 1.
- 3The LED on P0 follows the button.
Safety first
- Unplug the USB cable before you add, move or remove any wire. Plug back in only after an adult or you have re-checked every connection against the table.
- micro:bit pins are 3 V logic. Never connect 5 V, a battery pack or anything from a 5 V supply to any ring, port or the 3V ring.
- The button connects P1 to GND only. Never wire a button between 3V and GND.