00micro:bit · MakeCode 30 minutes
Meet the micro:bit
Check which board you have, open MakeCode, and put a heart on the screen.
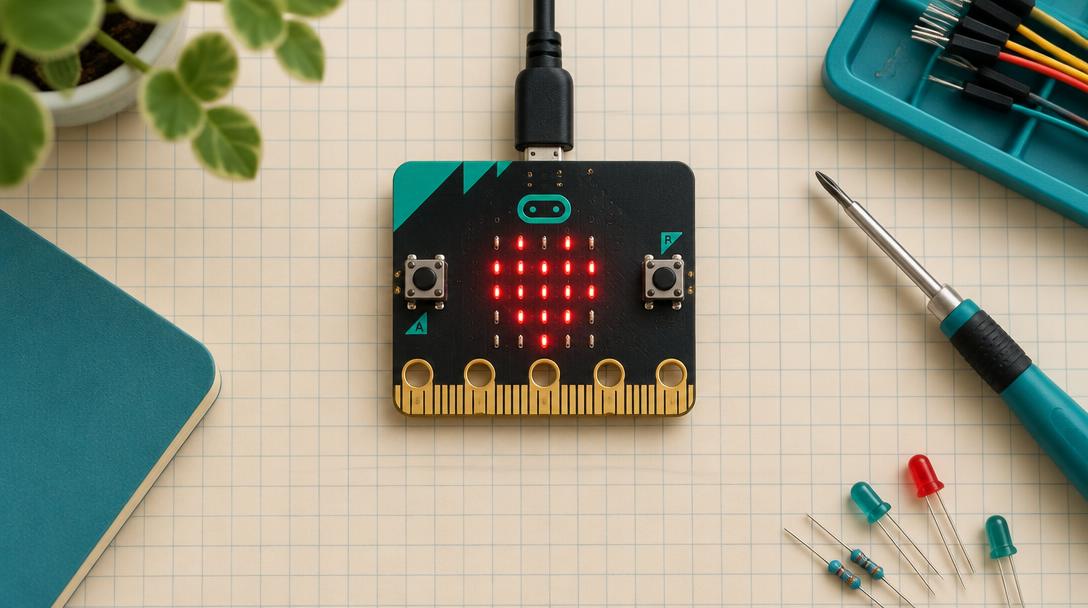
Lesson goal: Confirm your board version, make your first MakeCode project, try it in the simulator, and transfer it to the real micro:bit so a heart appears on its 25 lights.
Open MakeCodeSection 1
Understand
- micro:bit V1 and V2
- MakeCode editor
- Simulator
- .hex file
- MICROBIT drive
- on start
- 1The micro:bit has a 5×5 light grid, two buttons and sensors built in.
- 2MakeCode builds a .hex file; copy it to the MICROBIT drive.
- 3First program: show a heart.
Safety first
- Use a micro-USB data cable connected to a computer USB port. You do not need batteries for this course.
- Hold the micro:bit by its edges. The gold contacts and the parts on the back can be damaged by static or by metal objects on the desk.